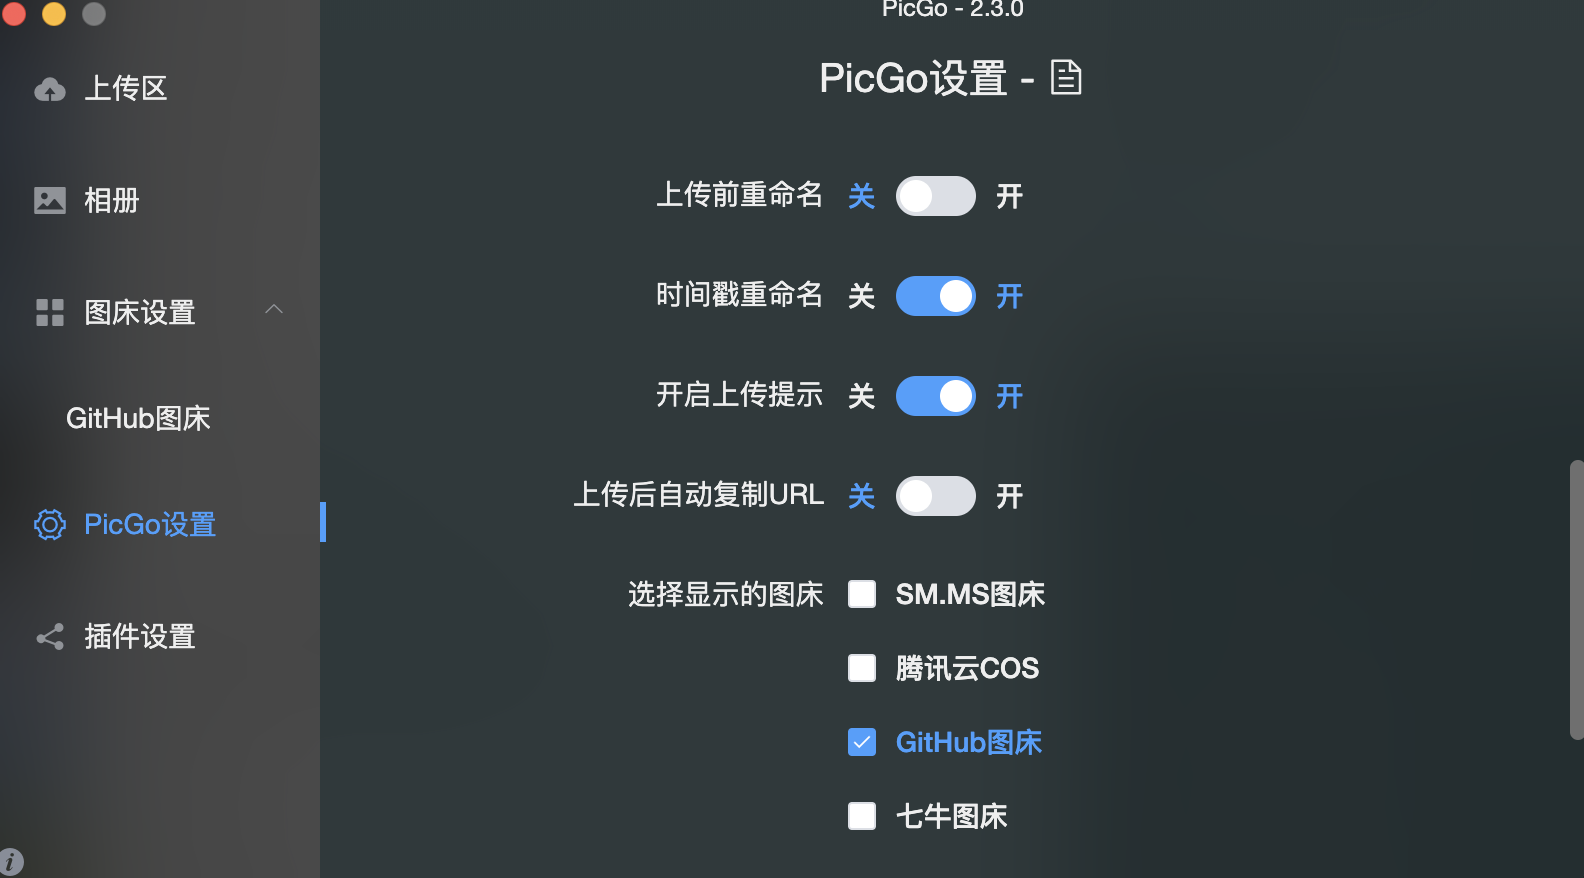
下载PicGo 并配置好
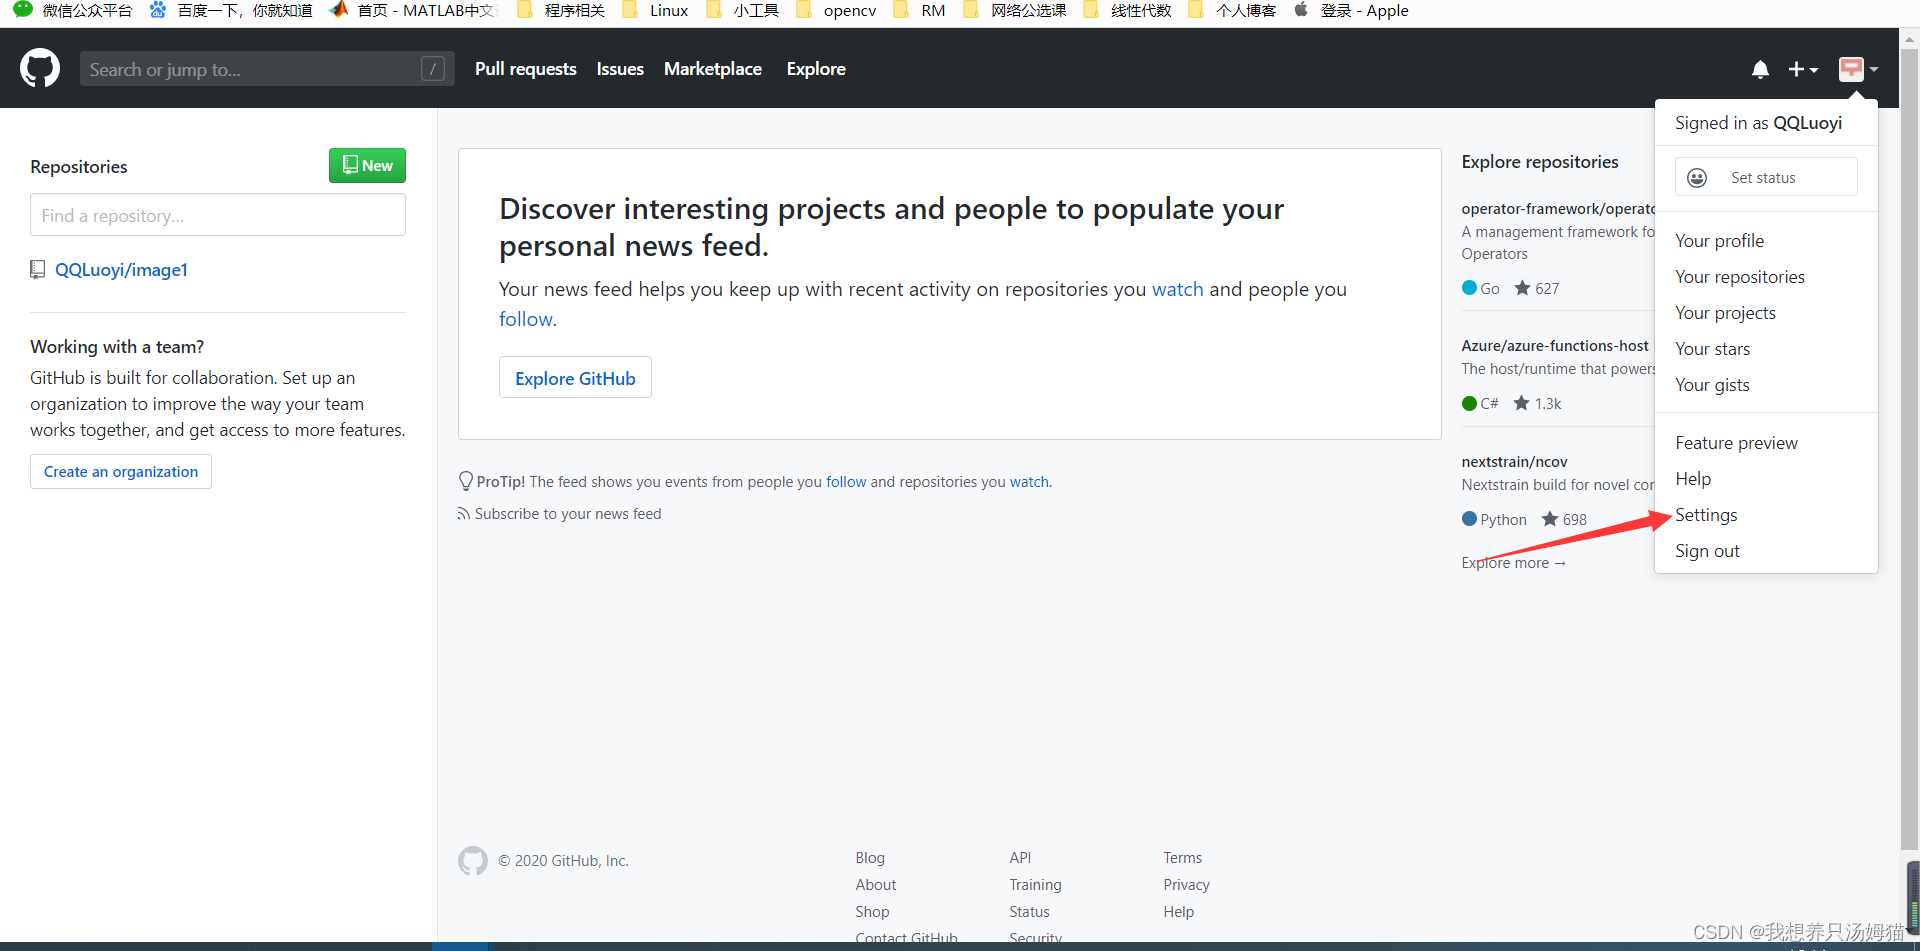
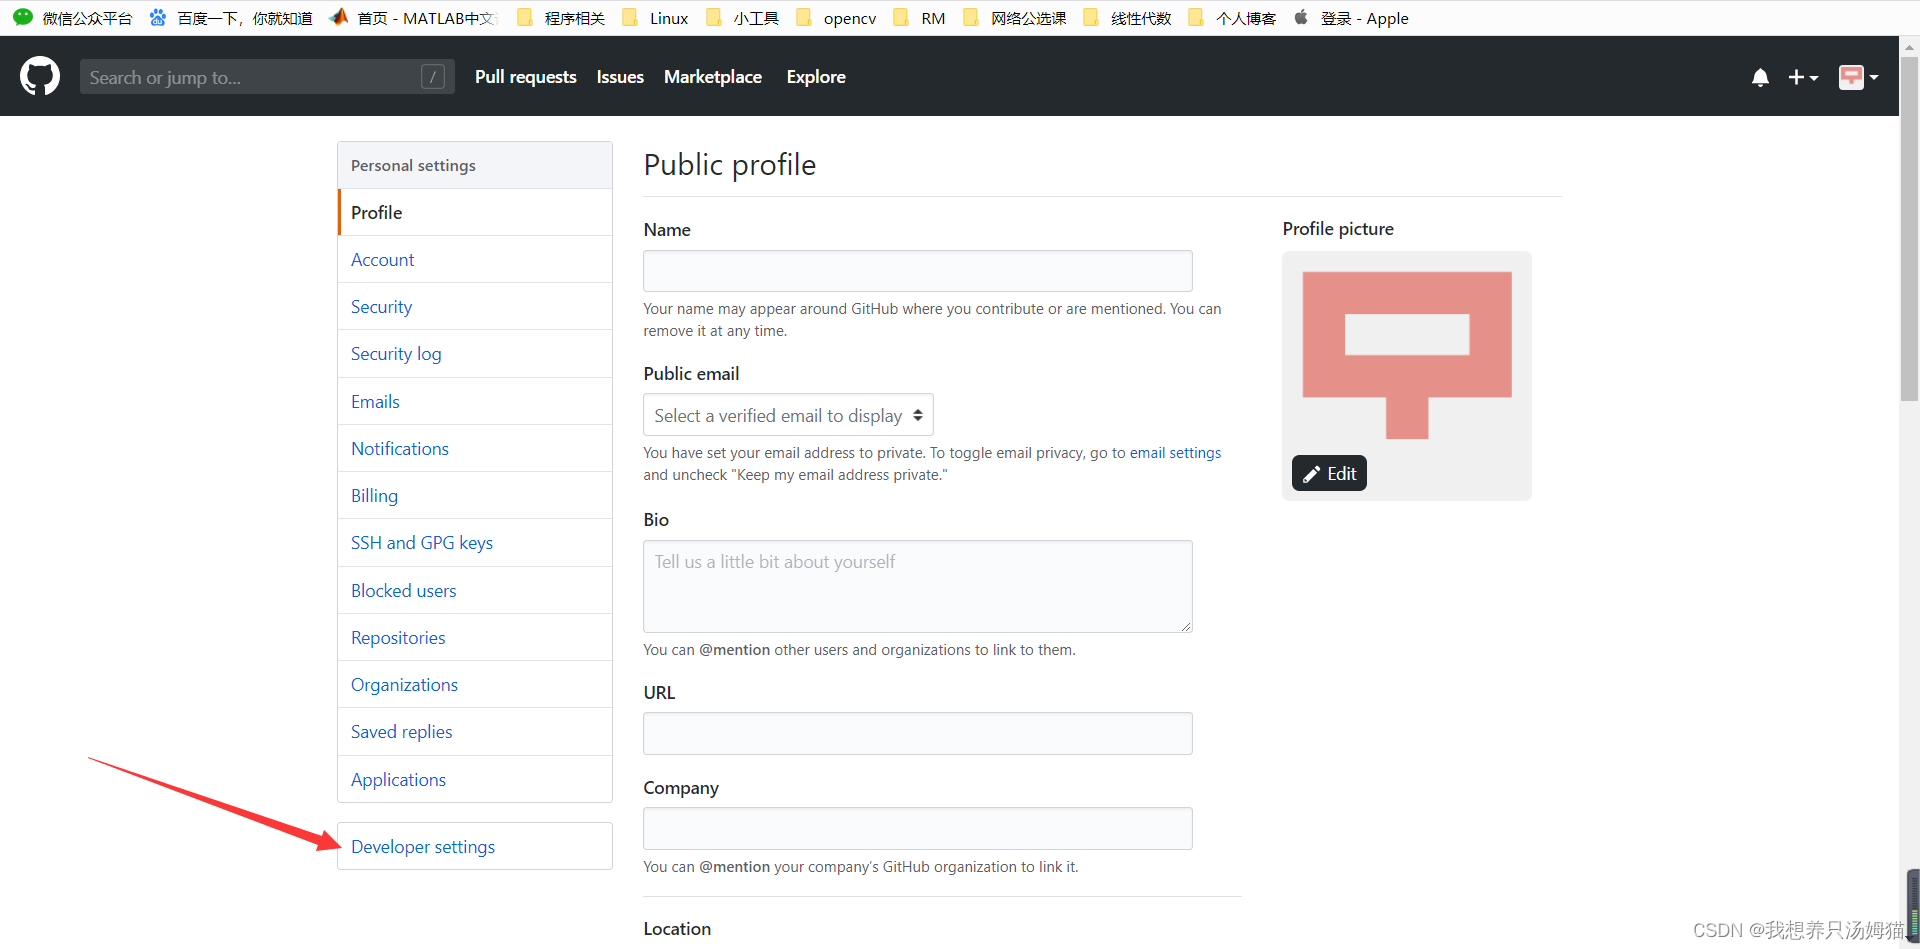
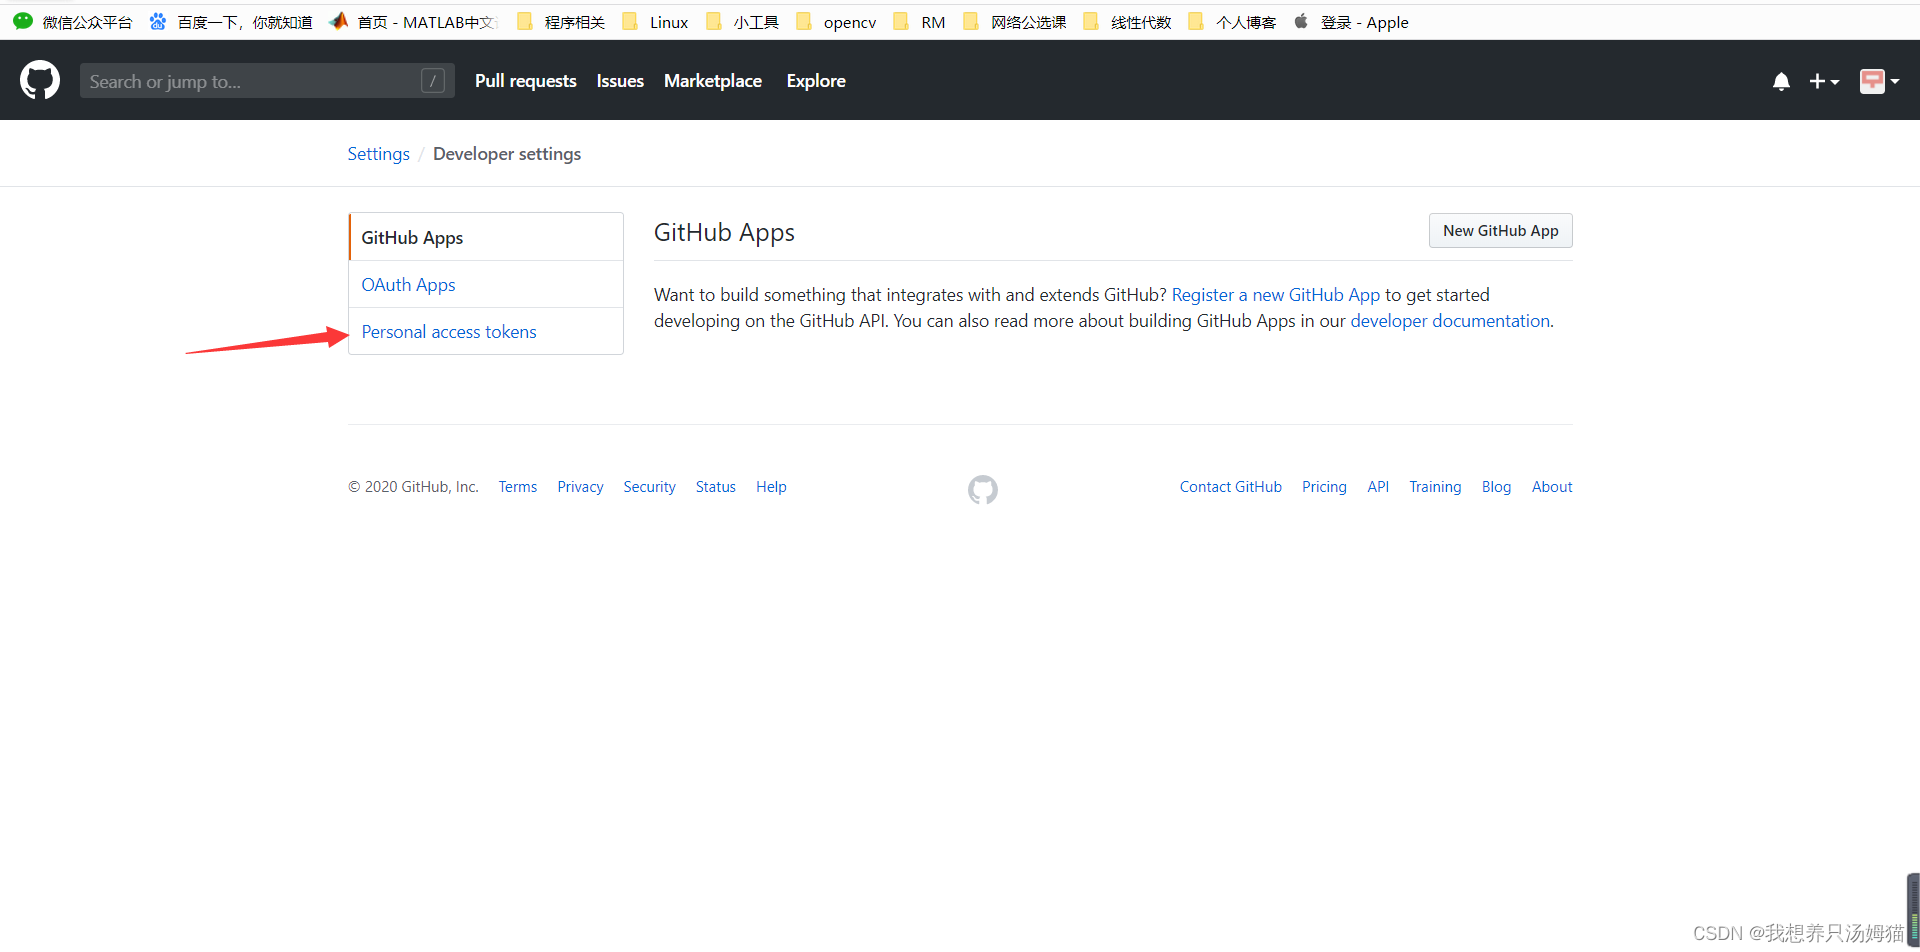
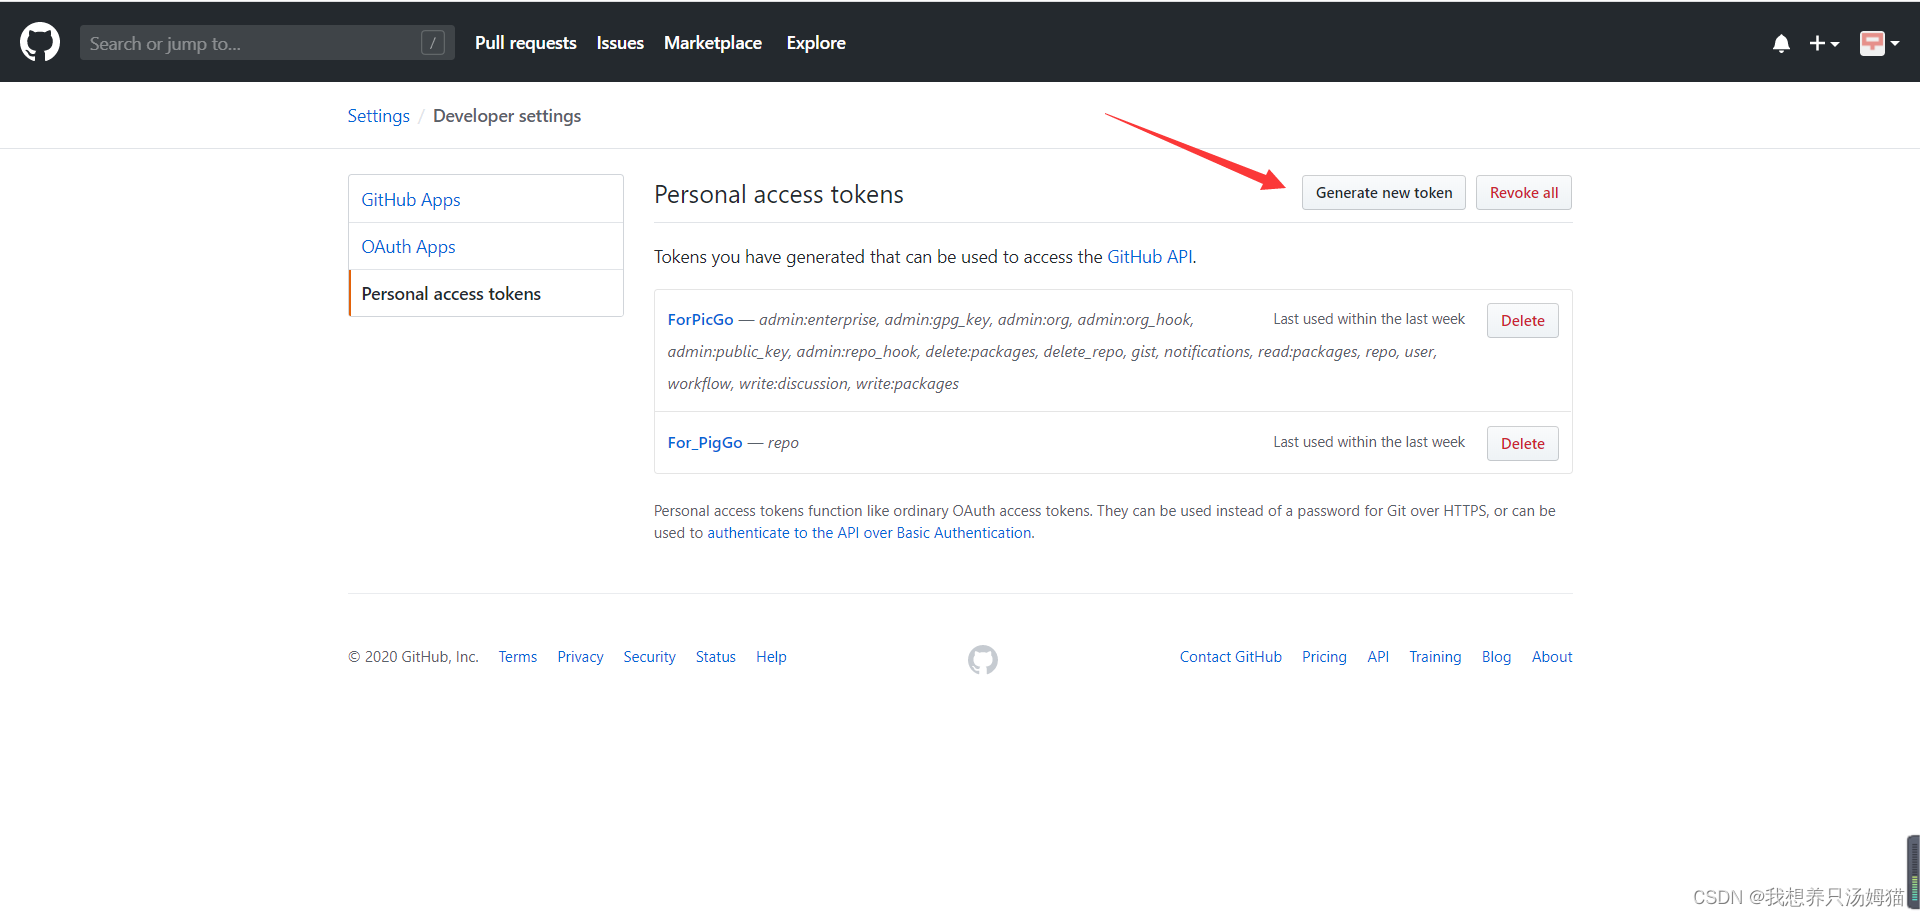
生成 github token
点击生成之后Token只会出现一次,记得保存备用

在PicGo中设置Github图库
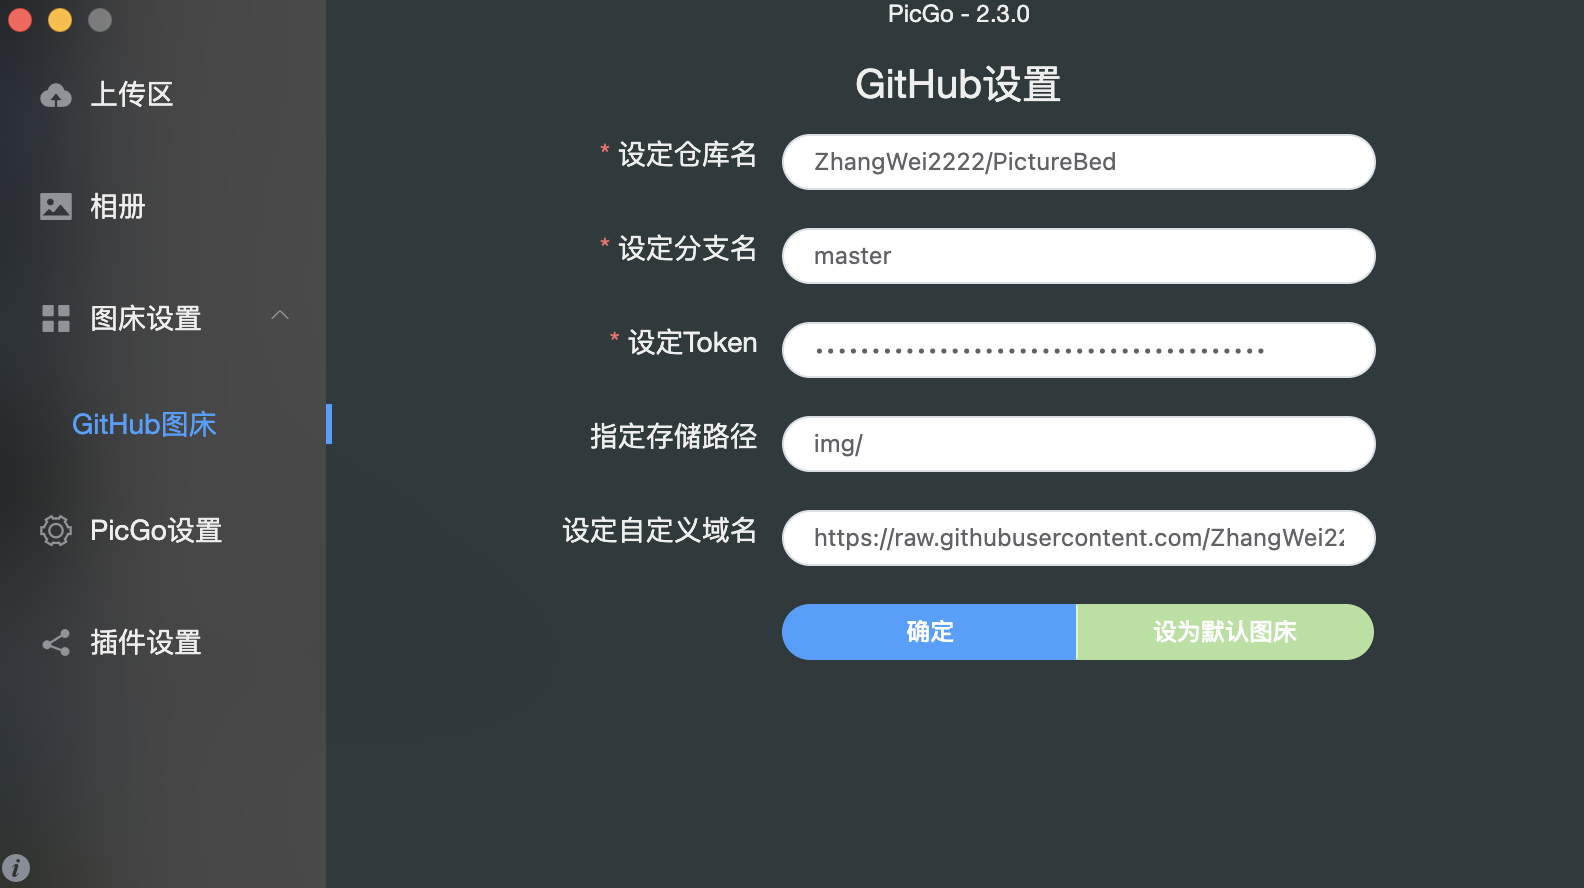
设定仓库名:Github账户名/仓库名
设定分支名:master
设定Token:上面复制的
指定储存路径:img/
自定义域名的作用是,在上传图片后成功后,PicGo会将“自定义域名+上传的图片名”生成的访问链接,放到剪切板上https://raw.githubusercontent.com/用户名/RepositoryName/分支名,,自定义域名可按此填写。
- 填写完毕确认并设置为默认图库
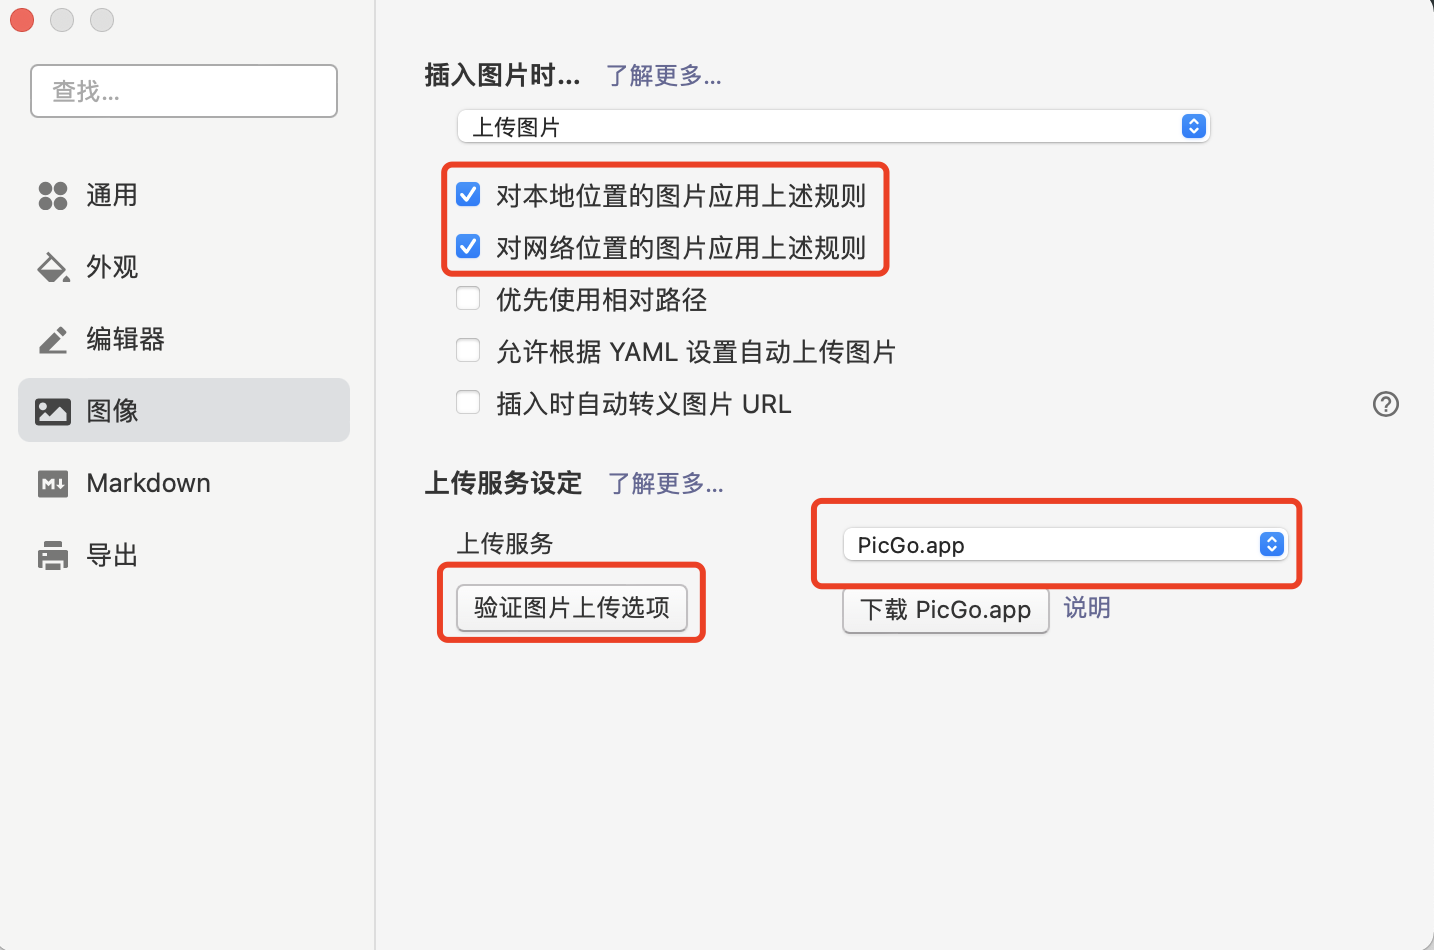
配置 Typora